Working with Cases
Searching for and filtering Cases
Overview
You can search for, filter, and access a case either via
- Support Dashboard
- Kanban board: displays the last 5 updated Cases per status column
- Pie Charts (on the left): display the Cases filtered by the respective status/priority
- "View all cases" link (at the top on the left): displays a list with all your created Cases

Searching for a Case
If you are looking for a specific case, you can search for it by case ID, subject, (or Account name, where applicable).
1. In the CGM PORTAL, go to menu "SUPPORT".
2. If the Search field is not visible yet, click on "Search" to expand the search area.
3. Enter the search term, i.e. the case ID, subject, (or Account name, where applicable).
4. Click on button "Search".

Filtering Cases
All entry points provide the possibility to use filter criteria to filter the list of Cases.
To filter a list of cases, proceed as follows:
1. In the CGM PORTAL, go to menu "SUPPORT".
2. Click on the "Filters" button.
3. Select the required filter values.
Note: It is possible to select more than one value in each drop-down menu.
4. Click on button "Apply".

Saving filter combinations
You can save certain filter combination for a regular use. These can also be edited and deleted.
To save a filter combination, proceed as follows:
1. In the CGM PORTAL, go to menu "SUPPORT".
2. Click on the "Filters" button.
3. Select the required filter values.
Note: It is possible to select more than one value in each drop-down menu.
4. Optional: Click on the "Apply" button.
5. Click on the ellipsis icon next to the "Apply" button.
6. Select "Save as new" or "Replace Existing" (if you want to replace an existing filter combination).
Note: Saved filter combinations will not be visible to other users.

Using filter combinations
You can access your own previously saved filter combination as follows:
1. In the CGM PORTAL, go to menu "SUPPORT".
2. Click on button "Pick Filter Combination" and select the required filter combination.
Alternatively, click on the "Filter" button. Then click on the ellipsis icon next to button "Apply" and select "Browse List".
3. Select the filter combinatin you want to apply and click on button "Apply".

Changing the main contact in a case
1. In the CGM PORTAL, go into the details of the case for which you want to change the main contact.
2. In section "Contact" on the left side, click on the ellipsis icon (three dots) and select "Change Contact".
3. In the pop-up, select the desired contact for your case.
4. Click on button "Save".

Watching a case
To add yourself or others as watcher, proceed as follows:
1. In the CGM PORTAL, go into the details of the case where you want to set a Watcher.
2. In section "Watchers of this Case" on the left side, click on the ellipsis icon (three dots) and select one of the following options.
- Start Watching: If you want to start watching this case.
- Stop Watching: If you want to stop watching this case and don't want to receive further notifications about changes.
- Edit List: If you want to add/remove other people as watcher.
- Remove All Watchers: If you want to remove all watchers of this case.

Exporting a case
On the Case List page (as well as on the Case Details page), the "Export Cases" button enables users to download a comprehensive report of all or individual cases with all comments in Excel format.
The report provides them with key case information such as Case ID, subject, description, type, assigned agent, status, priority, categories, as well as creation and update dates.
The export will consider applied filters and the selected sorting so that only the filtered cases will be exported. The feature is optimized for large case volumes and complies with data protection and security standards.
Case List:

Case Details:

Comments in a case
Overview
It is possible to add a comment in a case, for example, to provide further information. Comments can be added either by you as the customer as well as by our Support team.
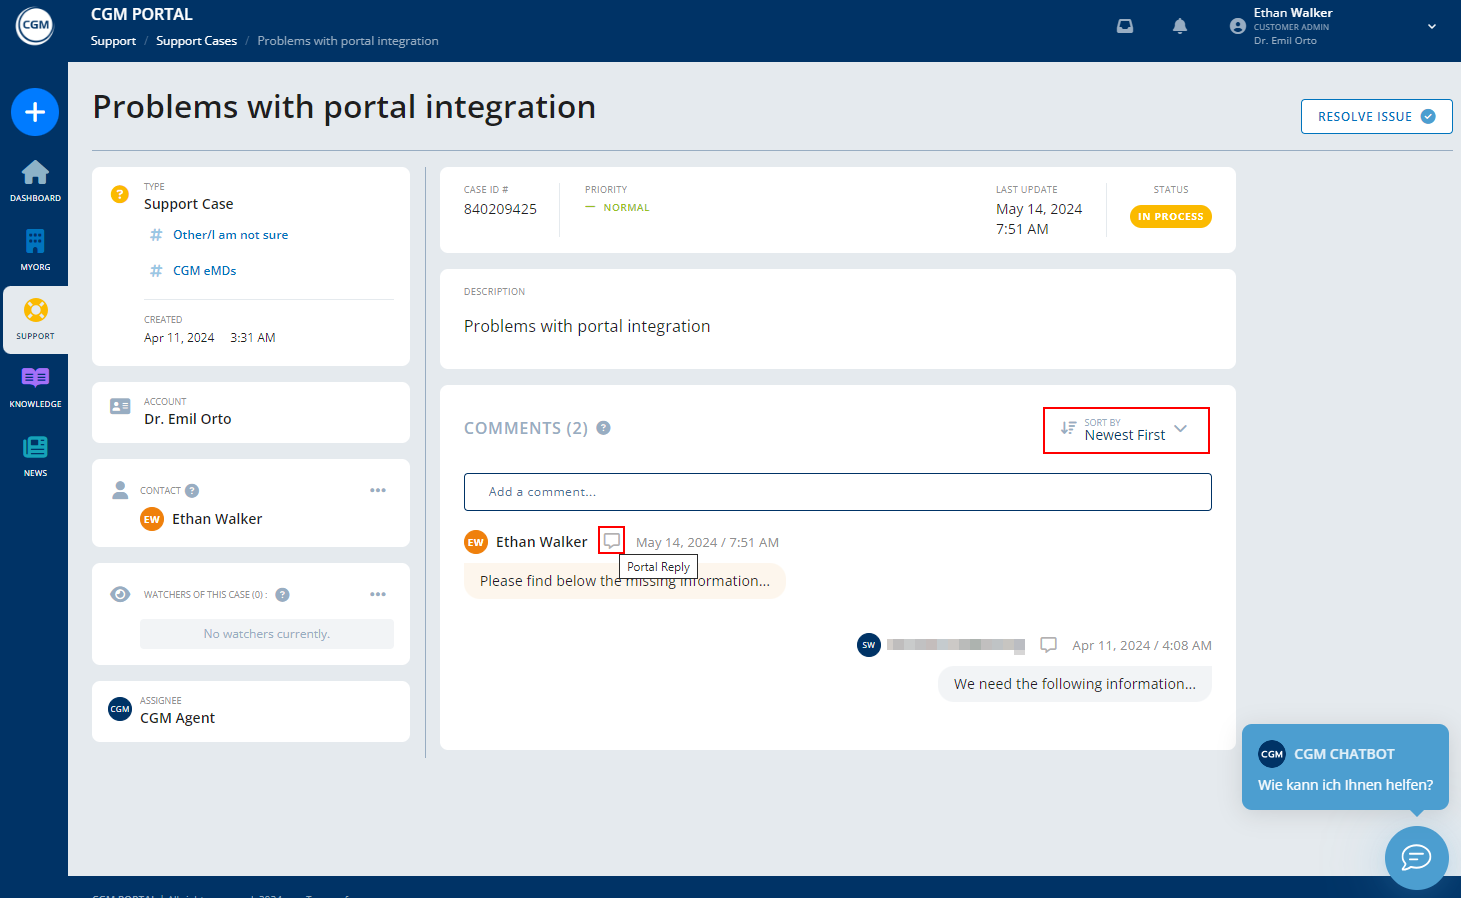
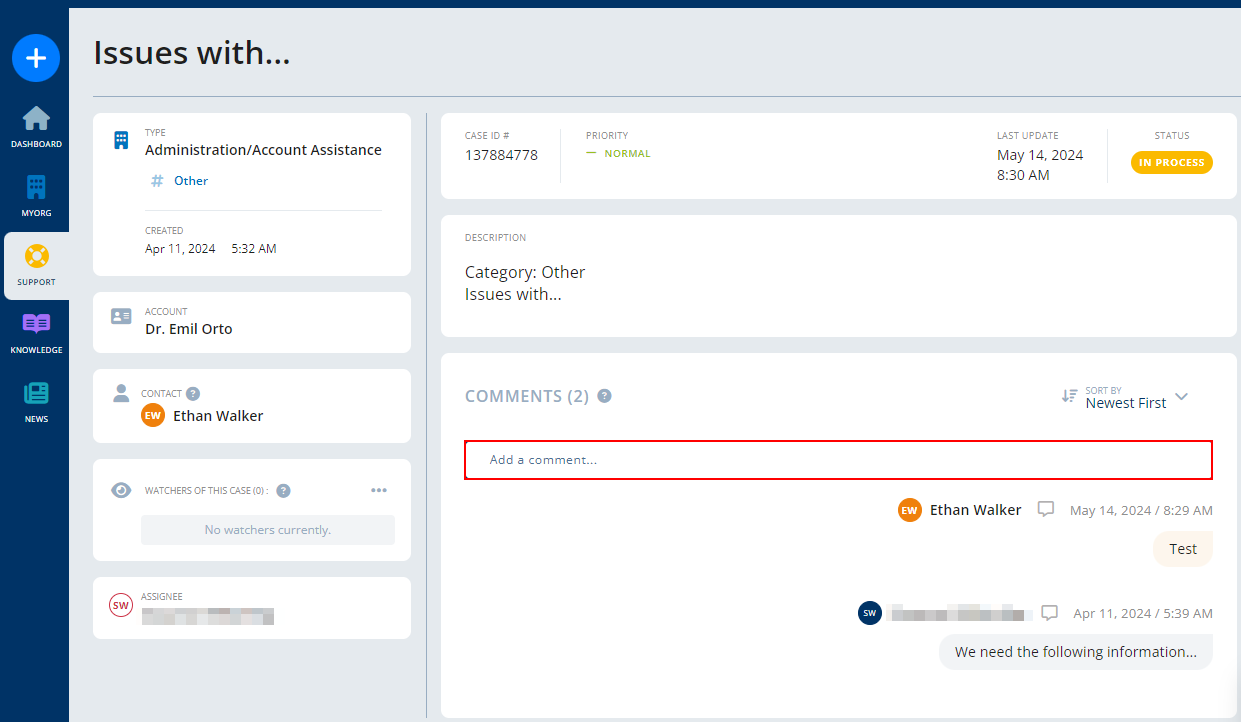
The comments are then listed in the "Comments" section including the date and time when the comment was added.
Colors:
The colors of the comments use a uniform color palette which is aligned with our company brand colors:
CGM employee messages are displayed in grey while your comments are displayed in orange.
The color distinction is emphasized within the comment sidebar, ensuring a clear identification of the commenter's affiliation.
Comment Type Indicators
An icon above each comment indicates the type of the comment, such as "Technical Comment", "Email Reply", "Portal Comment". If you hover over the icon, a tooltip explains the type of comment.
Attachments
Attachments are displayed as interactive "bubbles" directly below the associated comment. Clicking a bubble shows an enlarged preview of the attachment in a pop-up for direct opening.
Sorting function
Via the "Sort By" drop-down field at the top of the Comments section, you can sort the comments either by "Newest First" or "Oldest First".
The selected sorting preference for case comments are saved upon selection ensuring that the preferred sort order is retained the next time you visit any case details page. This way, you do not need to manually reselect your preferred sort option every time.
Depending on the sorting preference, the field to add a Comment will also adjust: If the newest comments are displayed at the top, the field to add a Comment will now also be displayed at the top so you do not have to scroll down.
Adding a comment
1. In the CGM PORTAL, go into the details of the case for which you want to add a comment.
2. Click on the field "Add a comment...".
3. Enter your comment into the text field.
4. Optional: Upload a file to your comment by clicking on "Attach Files".
Note: When uploading a file, the system will show a pop-up asking you to confirm that the file does not contain any protected health information (according to HIPAA regulations). If you do not confirm, you will not be able to upload the file.
5. Click on button "Post Comment" to add your comment.

Comment Posting via email
Status "Additional Information"
If the status of your case is set to "Additional Information", we need feedback or more information from your side to complete the case.
See the respective comment in your Case to learn what information is required to process your Case.
Once you sent another comment containing the required additional information, the status of the Case is set to "In Process".

Status "Solution Provided"
If the status of your Case is set to "Solution Provided", we suggest a solution to solve your issue.
See the respective comment in your Case to learn what solution is provided. You can verify the provided solution and either accept it directly to close the case, or you can assign it back to CGM if the provided solution did not solve the issue.
