Creating an Administration Case
Overview
An Administration Case (short: Admin Case) can be created by users with an Admin role in case of administrative requests such as Billing, Invoicing, Contracts etc.
An Admin Case can be created either via the Support Wizard or via the Case Creation form.
- Support Wizard: Enables you to create a Case by guiding you step by step through the case creation process.
- Case Creation form: Enables you to create a Case via a one-page Case Creation form
Creation via Support Wizard
1. In the CGM PORTAL, go to the Support Wizard using one of the following entry points:
a) On the Dashboard at the top on the right side, click on "Support Wizard".
b) In the navigation bar on the left, click on the '+' button and select "Support Wizard".

c) In menu Support, click on "Fix an Issue with Support Wizard".

2. Select option "Administration/Account Assistance":

3. If your user belongs to a customer with a branch/subsidiary), you have to select the respective Account for which the Admin Case should be created.
Otherwise, you will continue with the Category selection.
4. Select the respective Category.

5. Enter the details for the Admin Case (subject and description). Depending on the selected category, you may have to add an order, invoice, or reference ID.
6. Optional: Upload a file.
Note: When uploading a file, the system will show a pop-up asking you to confirm that the file does not contain any protected health information (according to HIPAA regulations). If you do not confirm, you will not be able to upload the file.
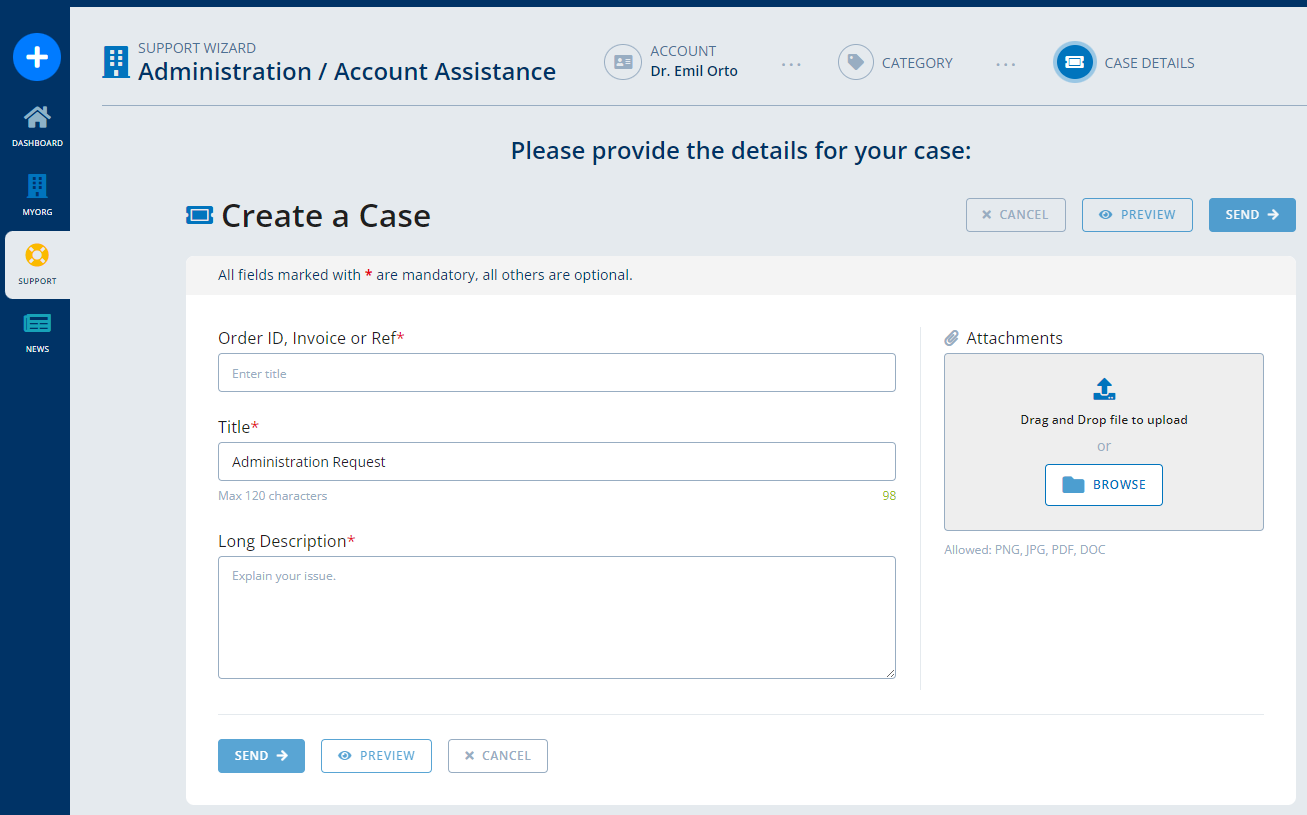
7. Optional: Before submitting the Admin Case, you can preview the Admin Case via button "Preview".
8. Click on button "Send" to submit the Admin Case.
9. The system displays a success message and provides the following options:
- Case Details: Navigates into your submitted Admin Case to display its details.
- Support Dashboard: Navigates to the Support Dashboard.
Creation via Case Creation form
1. In the CGM PORTAL, go to the "Create Case" functionality using one of the following entry points:
a) On the Dashboard at the top on the right side, click on "Create Case".
b) In the navigation bar on the left, click on the '+' button and select "Create Case".

c) In menu Support, click on "Create Case".

2. In the form, select case type "Administration/Account Assistance" and maintain all mandatory fields. Depending on the category selected, you may have to add an order, invoice, or reference ID.
3. Optional: Upload a file.
Note: When uploading a file, the system will show a pop-up asking you to confirm that the file does not contain any protected health information (according to HIPAA regulations). If you do not confirm, you will not be able to upload the file.

4. Optional: Before submitting the Admin Case, you can preview the Admin Case via button "Preview".
5. Click on button "Send" to submit the Admin Case.
6. The system displays a success message and provides the following options:
- Case Details: Navigates into your submitted Admin Case to display its details.
- Support Dashboard: Navigates to the Support Dashboard.